Ad Hoc Custom Reports allow for advanced generation of reports and delimited exports of data directly from the database.
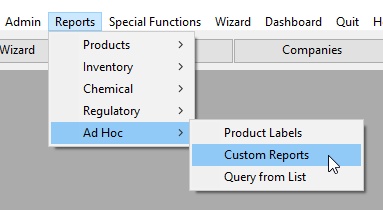
Select Custom Reports from the Ad Hoc menu
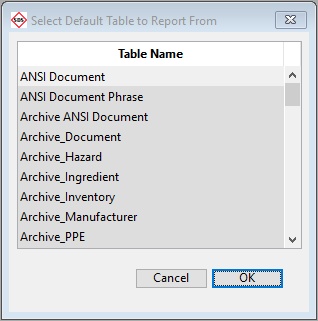
Select the desired table.
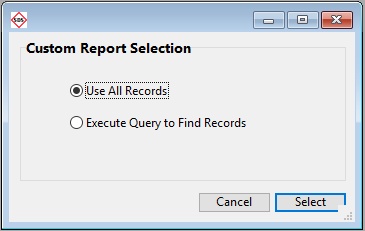
Choose all records in the table or query a selection.
You will be presented with the Quick Report interface. The Quick Report editor may be used to create custom report or delimited data exports.
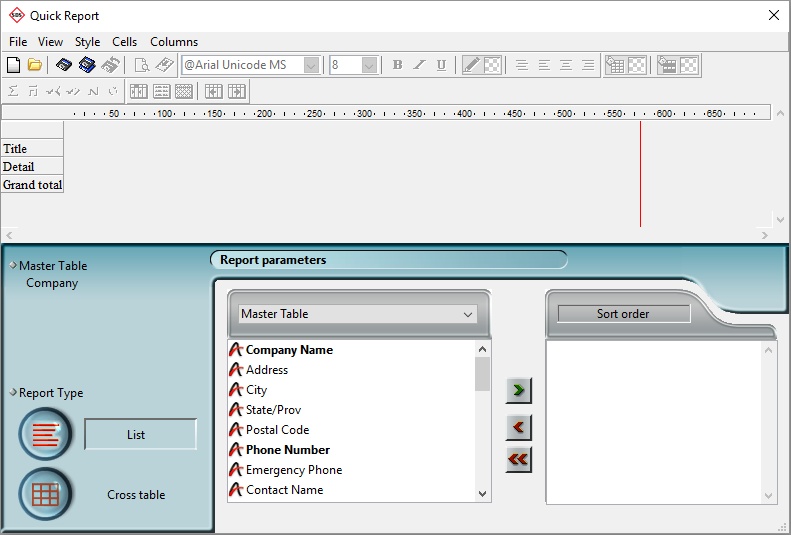
Create columns by dragging field names from the Fields list into the quick report area. To add a field from a related table, expand the foreign key field in the hierarchical list of fields to display the fields in the related tables (if you have selected Related Tables or All Tables in the drop-down menu located just above the list). Add fields from related tables, provided that the relationship is automatic. To be able to use manual relations, check the All relations in automatic option: in this case, the editor changes all the relations of the database to automatic.
In addition, insert an empty column into a quick report. After inserted, the column can have a field or a formula assigned to it.
Printer
This option uses the printer in your current print settings. If you are printing to a printer, preview the report option exists before printing it.
To print to a printer:
In the File menu, choose Printer from the Destination submenu.
This option is selected by default.
If necessary, select Page Setup from the File menu and specify your print parameters.
Note: This command is only available when the Printer destination is selected.
If you want to preview your report, select Print Preview... in the File menu.
Note: This command is only available when the Printer destination is selected.
The print preview dialog box appears, containing the report that you have defined with the current data of the database.
Select Generate... in the File menu.
Choose the settings that are appropriate for your report and click the OK button.
Disk file
This option sends the quick report to a disk file that can be opened and modified with other applications; including text editors and spreadsheets. This option exports the records in the quick report to a text file.
When using this option, SDSpro automatically uses the column headings as the first “record” that is exported.
To generate the report in a Text file:
In the File menu, choose Disk File from the Destination submenu.
Choose Generate... from the File menu.
SDSpro displays a standard create-file dialog box and asks you to enter a file name.
Enter a filename and click OK.
SDSpro displays a dialog box that keeps you informed of the progress of the operation. After the report is printed to a file, 4D returns you to the Quick Report editor. Remember to change the output device to resume sending a quick report to a standard printer.